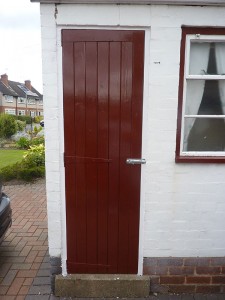
The Shed Door Project
My dad recently asked if I could build a new door and frame for one of his sheds. The shed is built into the side out the house. Both the door and door frame had seen better days and were pretty rotten, so it all needed to be replaced, however because the door was very narrow it wasn’t going to be possible to buy one at the right size off the shelf.
So my dad provided me with some fairly accurate measurements of the existing door. The replacement door could have been changed to a new style, but I figured it’d be nice to build one which looked the same as the original so I didn’t make any modifications to the design.
As normal I first built the project on the computer in 3D in order to get the correct dimensions and sizes. By doing this I knew exactly what sizes of timber to buy and how much.

As usual I planned the project out on the computer in 3D to get the measurements right before I started
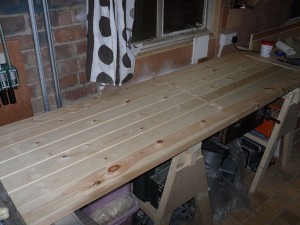
The next step was to buy the materials. I had thought about using hardwood, but this would have made the door very expensive and as the plan was to paint the door anyway, it seemed a little bit of a waste. So in the end I decided to just buy cheap(ish) softwood from a builder’s yard.

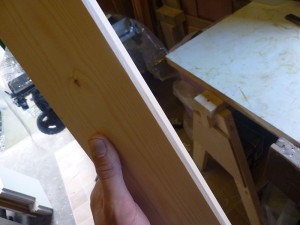
I bought all of the timber for this project from a couple of builders’ merchants. Some of the wood was a little warped but not too badly
There were a couple of issues with buying cheap wood like this. Firstly it was still not very dry which meant that there was a lot of sap in the wood that seemed to blunt my tools quite quickly. Secondly some of the longer 4×2 boards were quite warped and twisted, which for construction of a door is of course not very desirable. So I had to think carefully about which pieces I was going to use for each part of the door to minimise the amount of twisted boards used in the final door.
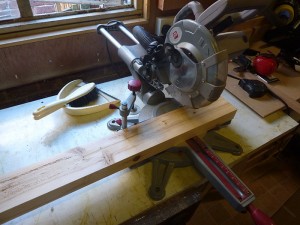
Once that was sorted I began cutting the boards to size using the mitre saw. Initially I only cut things to rough length, making sure there was plenty of excess to be removed later.
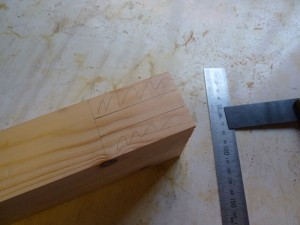
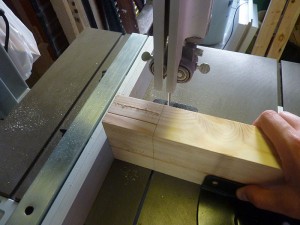
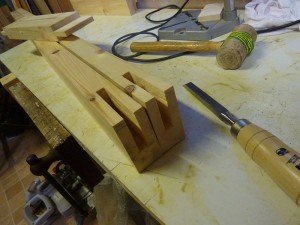
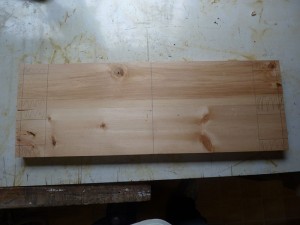
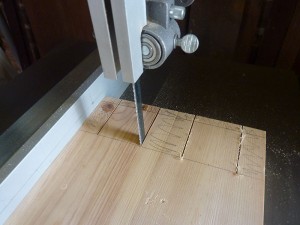
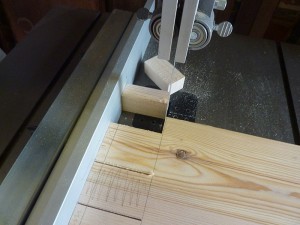
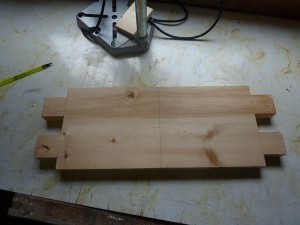
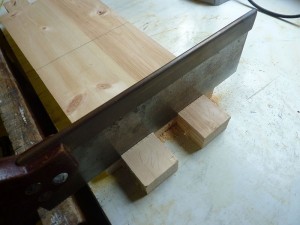
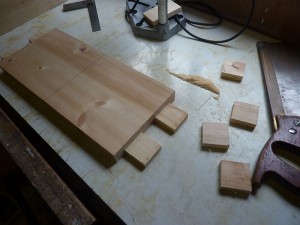
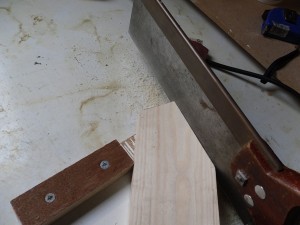
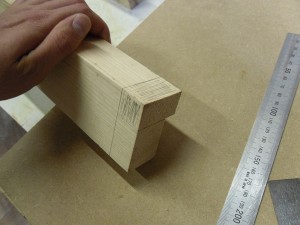
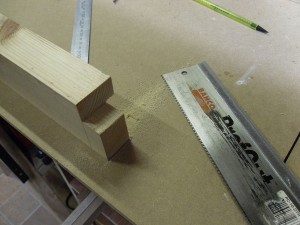
Once cut and squared, I marked up the tenons for the top beam of the door. My plan was to cut these on the bandsaw for a couple of reasons; 1) I would be a repeatable cut that could be done quickly on the bandsaw and 2) I’d never done it before so wanted to give it a go! You can see the process in the pictures below:
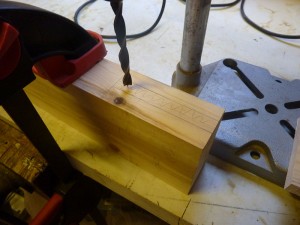
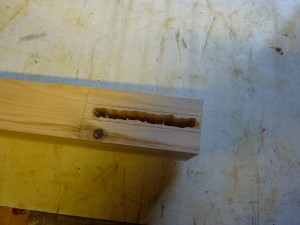
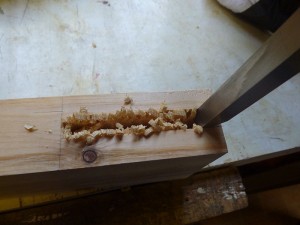
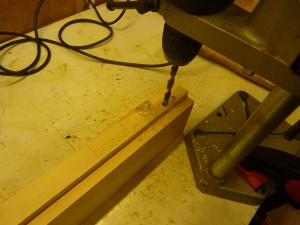
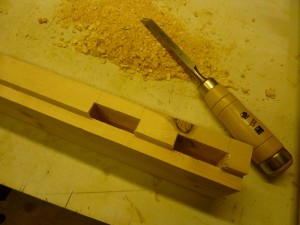
Having cut the tenons, the next step was to chop the matching mortises into the vertical sides of the door. Again I marked up the area to be removed and then used a drill press to remove as much of the waste as possible before cleaning it all up with a mortise chisel.
Then it was just a case of repeating this for the other side of the door.
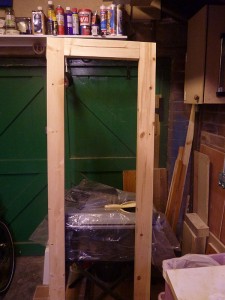
And a test fit…
The next step was to create a rebate along the edges of the door sides and top into which the panels would fit. I spent a bit of time measuring the panels themselves and figuring out what width the groves needed to be in order for the fit to be perfect and then I cut the rebate on the router table.

In order to fit the panelling I needed to cut a rebate down the full length of the door sides. I did this using the a straight bit in my router table
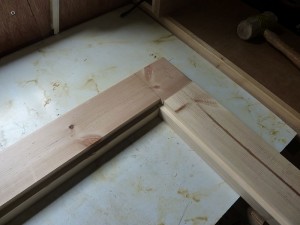
You can see below how the rebate looks on the separate lengths and also when fitted together:
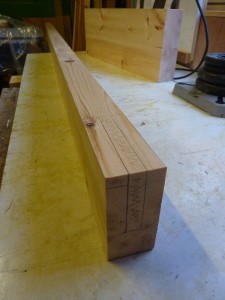
The next stage was to create the bracing support beams which would hold the door together in the middle and at the bottom. The plans called for very wide boards for this, the reason being that the wider the board, the futher tenons could be placed along the length of the door and therefore both strengthen it and stop it from twisting. The problem was that I didn’t have any wide boards and so I had to create some by chopping down some 4x2s into planks and then edge jointing them together to make wide boards.

This door required wide brace beams, but the timber I had was not very wide, so I had to glue several pieces together.
Once these wide boards had been built I marked up the tenons which needed to be cut from them, and again decided to use the bandsaw to do the work.

The waste in between the tenons had to be removed with a chisel (although after spending ages on this first attempt I used a coping saw to remove most of the waste first on the others…doh!)
As mentioned in the image above, I made the mistake of trying to remove the waste from between the two tenons using a chisel. It wasn’t until later that I thought about using a coping saw to remove the majority of the waste first…ah well, you live and learn!
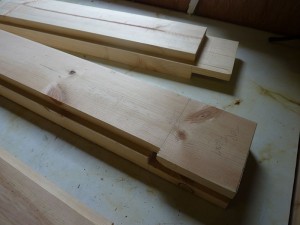
So with the tenons cut on the brace beams, I had to thin them down to allow for the panels which would lie over the front of them. So again I used the bandsaw to remove the extra material evenly and then finished up with a hand saw.

In order to ensure the brace beams fitted into the mortises in the door sides, they needed to be thinned on the bandsaw.
Next came the mortises for the brace beams…quite a lot of them. 8 in total, and this took quite a few evenings of labour to finish. I started with the bottom ones and then the middle, making sure to test the fit as I went along.
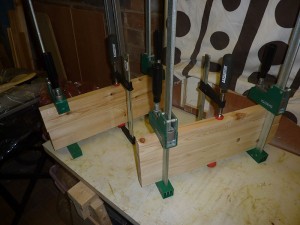
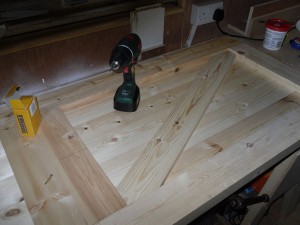
After the test fit I glued the door frame work together. As this was an exterior door I was quite paranoid about the joints failing after some time outdoors and so I ended up using a “lot” of glue. Hopefully this will be enough to stop the door falling apart…only time will tell I guess.

I was paranoid that the glue might fail when left outside so I used a “lot” of glue and clamped the door together.
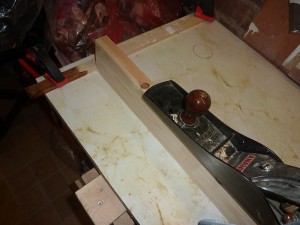
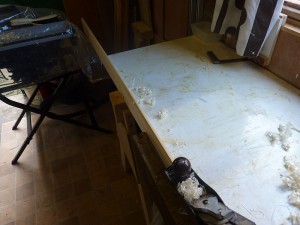
With the door framework essentially made I next had to cut the panels to length. This was pretty easy, however I also had to trim the tongue off the end of the far right panel as this one would need to be flush with the rebate on the edge of the door. To do this I just used a hand plane and planed the tongue off the panel until it was flat.

The panel at the far right of the door didn’t want to have a tongue and so this needed to be removed
I also decided to plane a chamfer onto the tops of each of the panels to aesthetics but also to try and prevent rain water or other muck from sitting on top of the panels.

I also beveled the top edge of each panel for aesthetics and to help rain run off the top of the panels
Then it was onto attaching the panels to the door. For this I hammered panel nails through the fronts of the panels into the rebates and brace beams. I made sure that all of the nails had been sunk below the level of the panels themselves and then used wood filler to cover over the nails and improve the final finish.

Once the glue had set I used small nails to pin the panels to the door, tapping them so they sank into the wood slightly. Then I used wood filler to cover the nails.
Next I measured and cut some thinner boards to brace the panels from inside the door and generally strengthen the framework. I screwed through from the back of these boards into the panels, being careful to pick screws which were the right length and not protrude through the panels once in place.
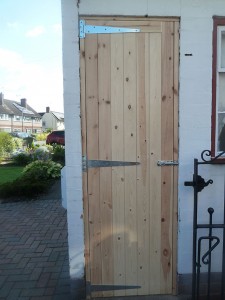
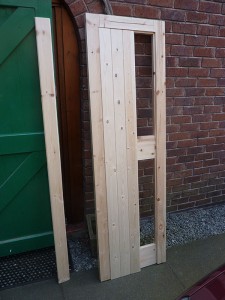
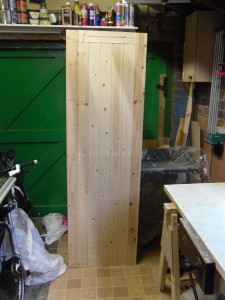
And with that, the door construction was complete! You can see the finished door below.
Now I had to build the door frame. For this I selected some straight lengths of timber, making sure that they were longer than the required final dimansions. Then using the router I cut large rabbets into the edges of the boards which would create a rebate for the door to sit into once fitted. This rabbet had to be the same depth as the thickness of the door to ensure it would not under or over close.

For the frame I simply cut some lengths of wood to size (keeping them larger than required so they could be cut down on site when fitting). These were then rebated on the router table all the way along their length.
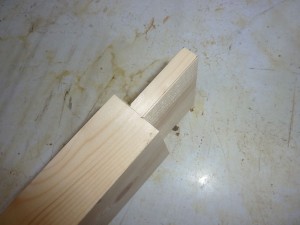
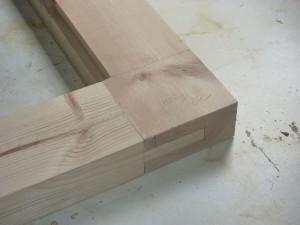
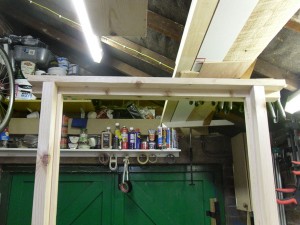
I also needed to notch the top of the vertical sections to allow the top beam to sit on top of the vertical supports snugly. This would later be screwed together on site to hold it all together.
And with that, everything was done. All that remained was to fit it.
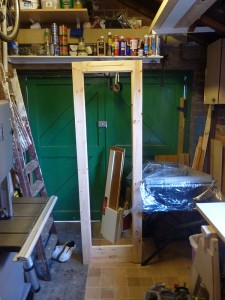
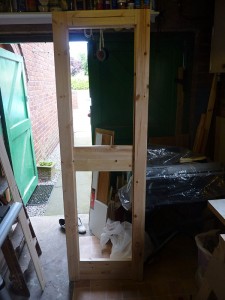
With a bit of help from my dad and my best mate, I managed to get the door and frame fitted over a few hours. We had a crisis moment when we pulled the old door frame out and realised that there was nothing supporting the bricks above the door, apart from the frame! But with a bit of mucking about we managed to get the new frame in place fairly quickly without having a dozen bricks falling on our heads. You can see the cracks above the door in the pictures below. Rest assured that these have since been filled and painted and its all nice and sound and secure 🙂
Once fitted my dad gave it a few coats of paint and filled in all the gaps and cracks with silicone. As you can see it looks pretty professional now (The cracks above the door were fixed after this photo was taken…honestly). I enjoyed this project and felt quite chuffed when I had fitted it and discovered that it actually fitted very well. Time will tell if any of the joins will fail or if the door will over expand, but I’m hopeful that it should last a fair few years.

