
Bird Feeder Armchair Project
 My dad recently asked me if I wanted to make a new bird table for my mum’s birthday, as their one had rotted through. Although I would have loved to make a bird table, unfortunately I just didn’t have enough time to do a relatively big project and so instead I decided to buy a bird table for her and also make a small bird feeder to compliment it.
I did a little research and saw a cute little bird feeder armchair which I thought would be pretty simple to build.


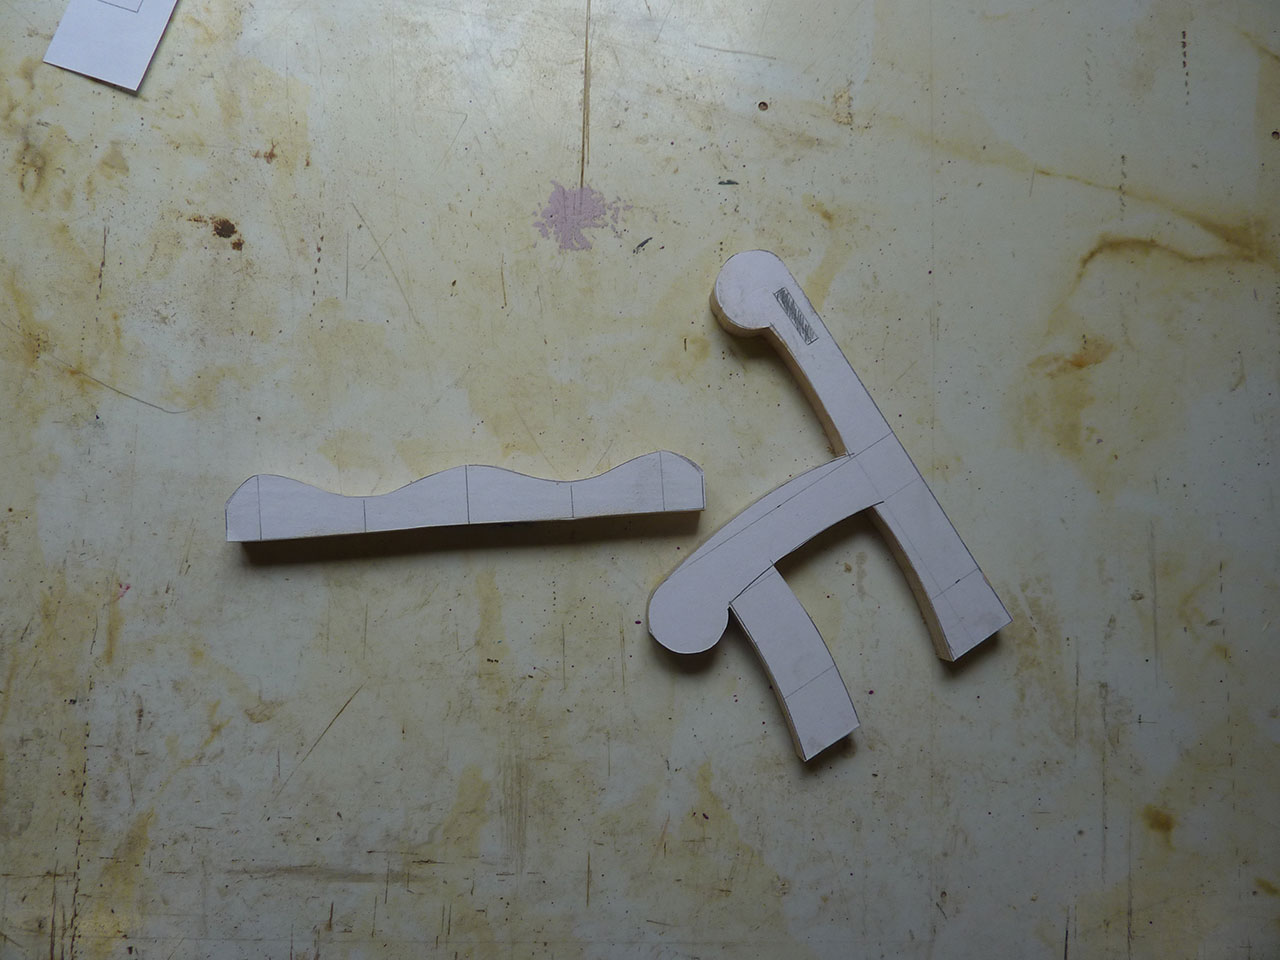
Due to time constraints I didn’t have the time to do my usual 3D model and had to resort to the age old pen & paper technique. However considering I ended up making most of this project in a single afternoon, I’d say it turned out quite well.

I started with a single plank of ash left over from the Cot Project (Seems like ages ago now) which I thicknessed down to about 10mm. Then I cut it into 2 sections and glued the hand-drawn templates onto them.


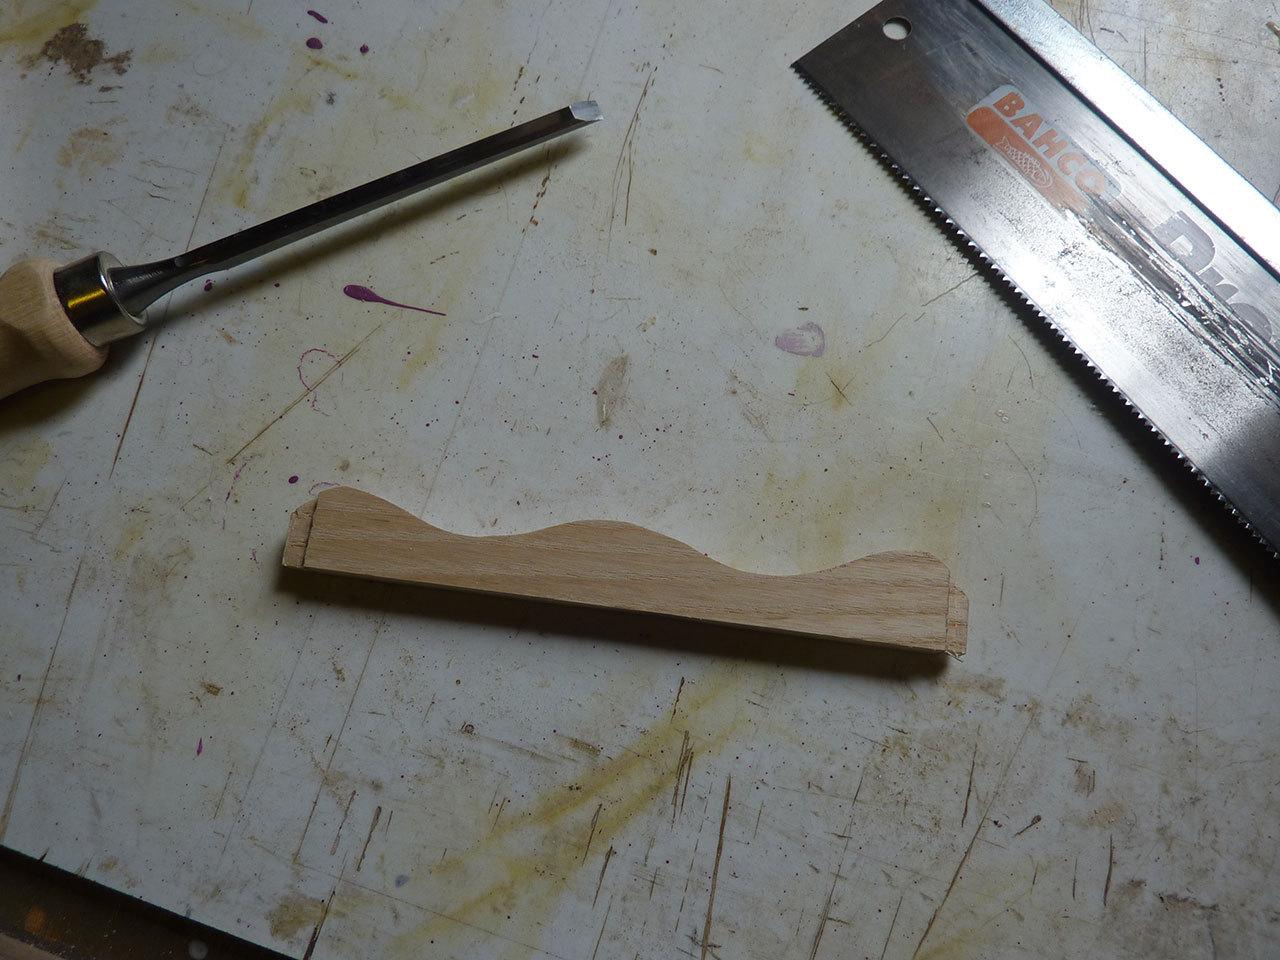
Once this was done, it was over to the scroll saw to cut the parts out.


I used the first cut part as a template to draw around for the second part. If I’d have made templates on the computer I could have printed 2, but as they were hand drawn I had to do it this way.


Then it was over the the disc sander to clean up the edges and a bit of hand sanding to finish off.


Next I marked up and chopped out mortices on each of the sides and also cut the tenons on the cross beam.


Then I gave everything a good sanding with a palm sander, making sure to round over the edges and give it a nicer beveled look

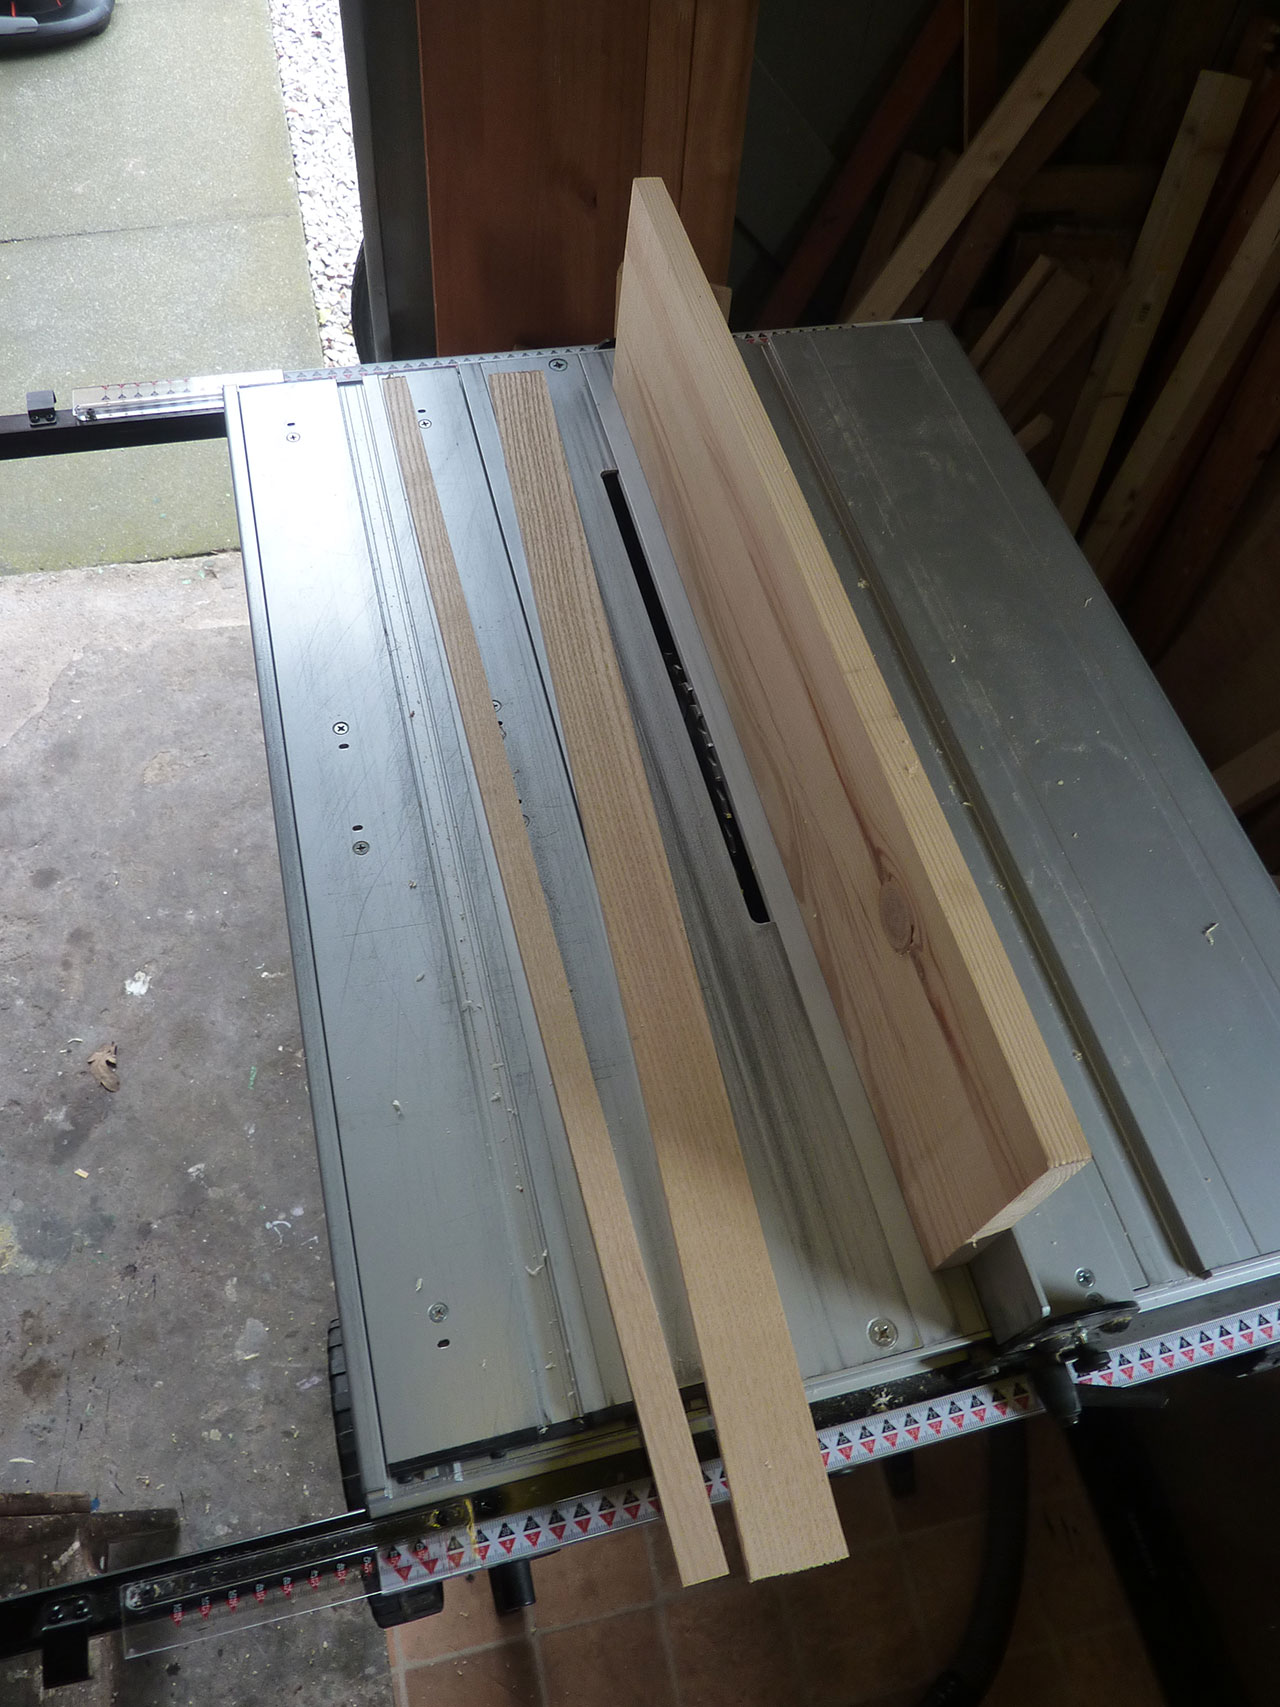
The next step was making the base and slats. I needed another, thinner section of ash for this (Fortunately I still had plenty). I planed on edge a flat as possible with my jointer plane and then cut strips on the table saw which I would later cut to length.


With the strips ready, all I had to do was cut them to appropriate lengths and start to attach them together. First I made the base. I just used nails to hold the base sides together as you can see here:


I also cut a section of thin plywood to make the base and drilled several small holes in it to allow water to drain out.
For the back of the chair I couldn’t easily use nails, so I had to drill holes and use dowels to attach the parts together.


I put plenty of glue into these holes to make sure it wasn’t going anywhere:


Next I simply had to attach the sides. I used a combination of glue and nails for this:

And once the glue was dry…voila!

I drilled the holes for the twine which would support the chair at this stage:

Then it was on with a couple of coats of weather-proof opaque stain that I had left over from a different garden project:


Next I cut a length of thick dowel to act as the vertical support for the twine and drilled a few holes in it. This also got the 2-coat treatment to match the chair:


And that was it…all done

I was pretty happy with how this simple project turned out, escpecially since I made it all by hand without any computer modelling this time around. Also the entire project took only a day to make (Not counting waiting time for glue and paint)…which is pretty impressive…even if I do say so myself 🙂